Did you know that most of the flowers and greenery grown at Hana Tropicals is harvested using regenerative practices?
That means that when we harvest red ginger for your arrangement we cut close to the korm which in turn forces energy back into the plant to produce more flowers. And when we carefully cut a ti stalk, that part of the plant still in the ground will produce two (!) new stalks for someone else’s pleasure. Nature is so amazing.
We strongly believe in sustainable farming, as do many other tropical farmers. We grow all our plants to organic standards and tend them with loving kindness and respect. We strive to leave the smallest possible footprint and vow to leave the land of Hana Tropicals better than when we found it.
One of the most amazing parts of the Beauty without Blooms Movement is our ability to create an arrangement for you that will live on; should you so desire. In our stressful world, surrounding yourself with plants is proven to help alleviate the anxieties of the day. Plants bring joy AND help clean the air around us. What more can we ask? So if you are a lover of plants - or if you want to give it a try - just follow these easy directions. Propagating your plants and some idiosyncrasies of each:
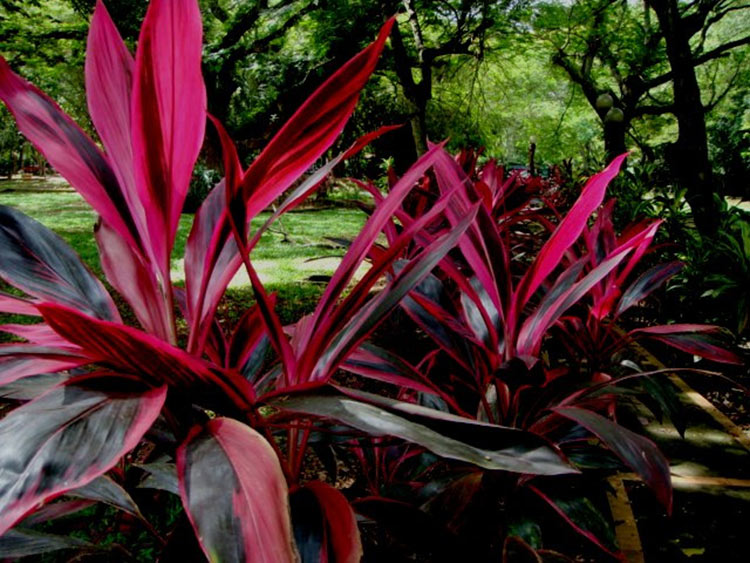
Hawaiian Ti Plant (Cordyline)

The Ti Plant prefers 65°-95° weather, high humidity and partial shade. It is, however, extremely adaptable and makes an excellent house plant.
The Ti propagates well. Leave at least 3” of the ti stalk in water for up to 4 weeks or until the roots are about 1” long. When the roots are ready, trim off any leaves that are brown, leaving anywhere from 5 to 10 leaves at the tip. Transplant the stalks into your pot, pushing down to “seat” the stalk in soil. Looks best when 2-3 stalks are in one pot. You should see some growth and strengthening within 3-4 weeks.
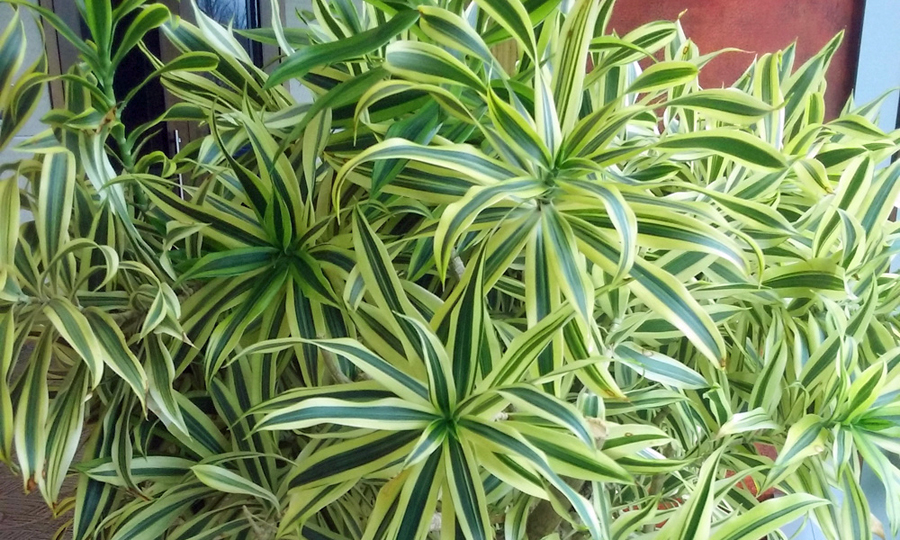
Song of India (Dracaena reflexa)

The Song of India prefers bright, indirect light and quick-draining soil to prevent root rot or overwatering. Great ornamental houseplant.
From your cutting in the arrangement, remove leaves exposing 3-5 inches of stalk. Stick this directly in the pot and firmly pat down soil around it . No need to root in water beforehand. Keep soil and plant moist and in the shade for the first 15 days. This is a slow growing plant. You should hopefully see a new leaf or two after 30 days. The roots will begin formation in about 60. Don’t lose hope.
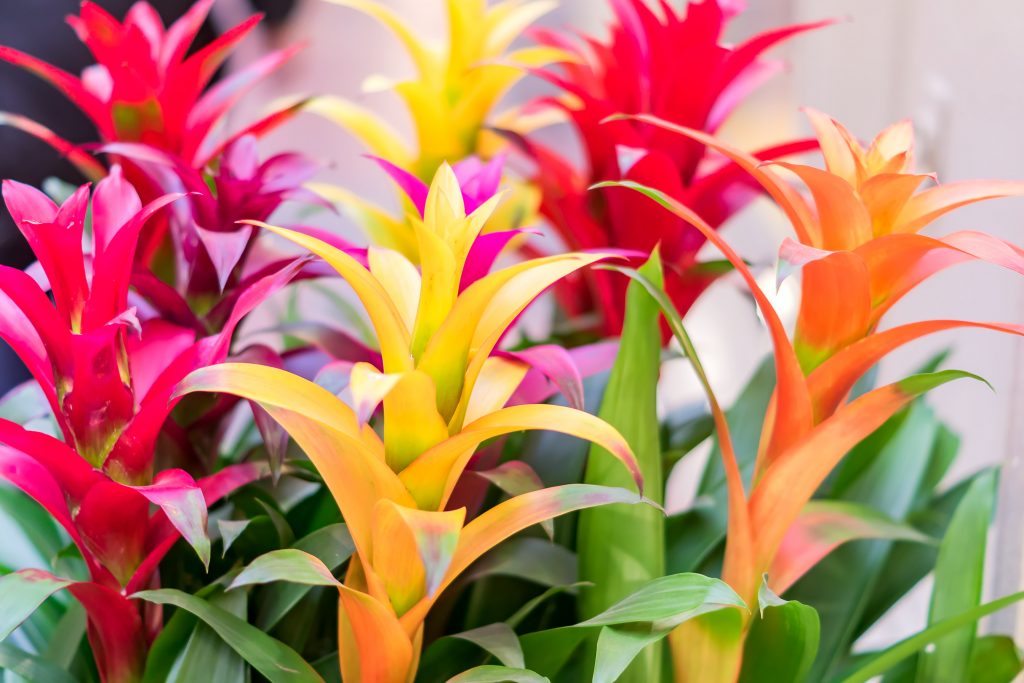
Bromeliad Victoria regina

The bromeliad in your arrangement was named for Queen Victoria of England as this particular plant was discovered during her reign . It prefers bright, indirect light inside and humidity. It will grow outside in bright shade in zones 10 to 12 year round or during the summer in cooler regions. It grows in soil, on rocks and on other plants/trees. It has a small root system and thus likes to grow in a smaller pot.
This bromeliad will have a short root or root ball. This is easy. Using a smaller pot, stick the root directly in soil and firmly pat down soil around it. Keep the soil moist but not wet. Best to water the bromeliad plant in the center cup (center of the plant). Additionally, stand the pot on a saucer half filled with gravel and water. This creates more humidity. It will take awhile for this plant to establish itself, but once established, it grows like crazy. Be sure it gets some bright light or the red center of your bromeliad will turn green.
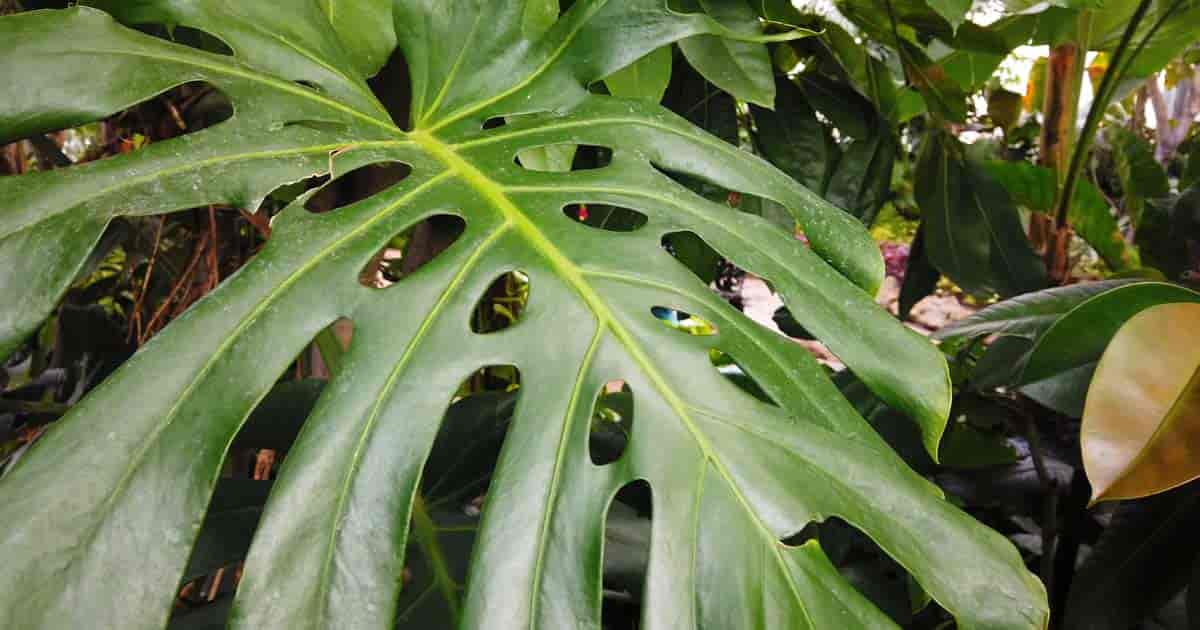
Monstera Leaf (Monstera deliciosa)

The monstera is actually a Split Leaf Philodendron. It likes bright, indirect light and humidity. The monstera leaf will last a long time in water as an addition to your flower arrangements, and will even root but without a node, the plant itself will not actually grow. If there is a node, immerse it in water for 3-4 weeks. It will begin to set roots during that time. When roots begin to show, plant in damp soil like all the above cuttings.
For each plant, you will need:
- One (1) 4 or 6 inch pot, with drainage holes in the bottom
- One (1) corresponding saucer to catch the excess when you water your plant
- Potting soil; make sure it has perlite or small rocks mixed in to enhance drainage
- An old knife or pencil to poke holes in the damp potting soil
- Plastic or gardening gloves to help keep your hands clean
- A bottle with spray nozzle
To Plant:
- If the pot has been used before, make sure it is clean.
- Dampen the soil before you put it in the pot. You want it just damp enough so you can make a ball of soil in your hand, that will crumble apart if you roll it between your fingers.
- Firmly press soil into the pot, filling it within an inch of the top.
- Take your knife or pencil and poke into the soil, rotating gently to increase size of your planting hole(s). Your intention is to make the hole just big enough to insert the planting stalk without damaging the emerging root structure.
- Gently ease the stalk into the hole and gently but firmly press the soil until it holds the stalk upright in the pot.
- Place in a sink. Water thoroughly and let any excess water drain for 30 minutes before placing the pot in its saucer.
Watering:
- For the first seven days (at least) mist the leaves of your plants with clear water.
- To test if the plant needs watering, put the tip of your finger into the soil about 1 inch. If your fingertip comes out dry, then water thoroughly, letting any excess drain out into the sink for at least 30 minutes.
- NOTE: Tropical plants hate to sit in water or extremely wet soil. Drainage is key.
Other notes of reference: College of Tropical Agriculture, University of Hawaii, Manoa

